Adding a token to the map
To add a token to a battle map, first click the Adventurers, Monsters, or Objects button to bring up the respective panel of the token you want to add.

From there, simply drag and drop the token from the panel to the map. This will create the token at the dropped location.
When using a grid, dragging a creature to the map will show you where the token will appear once you drop it.
Alternatively, you can press the Add to Map button shown below to add a token of that asset to the center of your map. When hovering over the Add to Map button, you can see a preview of where the token will appear when you click it.
Token style
New tokens adhere to your user-specific default settings. To make it so that all of your new tokens are of a specific color or a specific corner style, first open the Account menu from the navigation bar, and click on Settings.
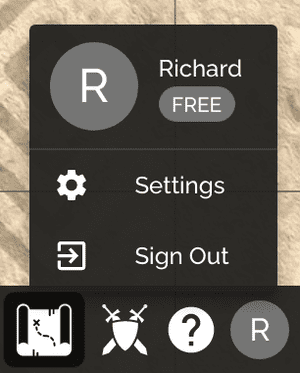
There, you can change the default settings of the token corners and color. Once done, just press Update to save your changes.

To change the style of a token already on a map, right-click the token, and then click Change Corners. This will allow you to change the corner style of the token to Circular, Rounded, or Square. You can follow the same approach and clicking Change Color to change its background color (assuming the token doesn't use an image).
